Beyond the Portfolio: Getting the Most Out of Your Project Photography

 2
2
Summary
Interior design photography helps with storytelling, client attraction, brand building, and business development. Melissa Grove shares how to maximize the value of your photoshoots by defining clear goals, choosing the right photographer, investing in styling, and repurposing content across platforms. With a strategic approach, your images can open doors to press coverage, client leads, awards, and industry recognition.
Reflection Questions
Which goals do you currently set for your project photography—and how could they be more intentional or strategic?
Are you leveraging your photos across multiple channels (PR, partnerships, awards, social)? If not, what’s holding you back?
How could hiring a stylist or collaborating with vendors elevate the final results of your photoshoots?
Journal Prompt
Reflect on your last photoshoot. What worked? What felt overwhelming? If you were to approach it again with Melissa Grove’s framework—goal-setting, preparation, strategic partnerships—how would the outcome change?
When I started working at Laura U Design Collective six years ago, I had never managed an interior design photoshoot. My background was in digital, so photography and video were certainly well within my realm of understanding. But interior design photography was something different. There was a glamour and polish to it, unlike the checklist-style approach I was used to.
Far from feeling confident, I over-planned, overcompensated, and overstressed myself trying to orchestrate each movement of a shoot. And just when I thought the hard part was over (when the final images landed in my inbox) the real stress began. The endless to-do list of updating the portfolio, planning social media, crafting the perfect pitch. And the worst part was the uncertainty.
Would this project win an award? Would a publication pick it up? Would all that effort pay off? And when it didn’t, when I had to tell the design team that, despite all our work, this project wasn’t chosen, it was gutting.
Needless to say, I hated photoshoots!
What I didn’t realize at the time was that I was looking at photography through a narrow lens: “Where do these photos need to go in order to bring the most attention to our firm?”
That was short-sighted. Thankfully, over the years, I’ve refined my approach. I’ve learned that photography is so much more than just a portfolio piece or a social media post: it’s a powerful tool for storytelling, branding, and business growth.
I created this guide to illustrate how easy it is to get the most of your photography, so you can grow confident that your photos will achieve one of these goals: get you great clients, validate your creativity, and show the world how amazing your firm really is.
This article was originally published in the Winter 2025 issue of DesignDash Magazine.
Getting the Most Out of Your Project Photography with Advice from Melissa Grove
Step 1: Consider what you want your photography to achieve
As a marketing professional, before I jump into anything, I think about the goals first. This is true of your photography. Why do you want to photograph this project? Where do you want those photos to go? How do you want those photos to be perceived? It may seem obvious, but many designers don’t go into a photoshoot with this mindset.
High-quality professional photography is more than just a way to capture the attention of new clients or editors. It is an essential piece of growing your design business as a whole. Here are our top goals with photography.
Attracting Clients
This is a given. Potential clients want to see proof of your expertise and style. Stunning photos of completed projects provide instant validation of your skills. Many interior design firms, including ours, have found that new clients often reach out after being inspired by our portfolio (usually on our website or on our Instagram).
Once we’re in the business development process, we’ll share additional project images, many of which we can’t (or choose not to) share publicly. A well-curated visual presence builds the foundation for what clients can expect from you. When clients have their expectations met, or exceeded, this is how you build trust.
Getting Published and Building Brand Awareness
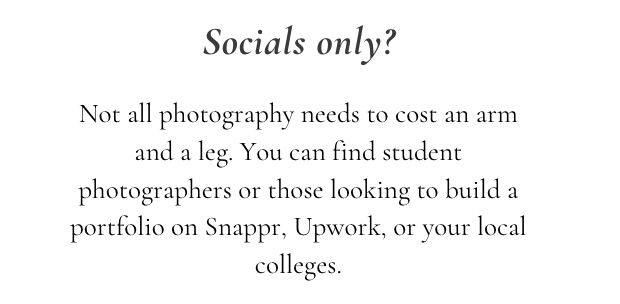
If you want to get featured in design magazines or online publications, (and let’s be real, who doesn’t?) professional photography is a non-negotiable. Editors look for high-resolution, beautifully composed images that align with their editorial style. Although, I have heard from some designers that say their iPhone photos have gotten picked up as well. This is key: photography doesn’t have to be expensive. But it does have to be good.
Strengthening Brand Relationships
We have had lots of luck telling our vendors before a shoot that we’d be interested in collaborating on the photography, and it has led to social media collabs, guest posts in traditional and digital media, video tours, and speaking engagements.
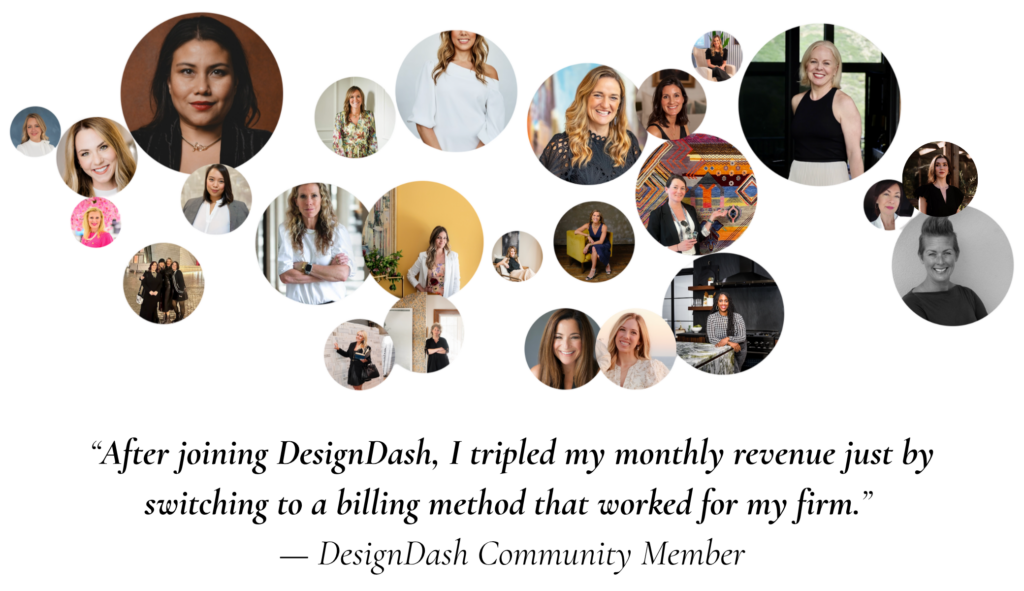
Fuel your creative fire, thrive with support from peers, & make 2025 your firm’s best year yet!
JOIN THE DESIGNDASH COMMUNITY
Winning Awards and Gaining Recognition
Let’s admit it: winning feels good! And you must have great photography to win awards. We pitch a few times per year. There are the big ones, like Luxe Red, and some others for more regional publication. We submit to all of the above! Our designers love the recognition and our clients love that they can say they work with an award-winning firm.
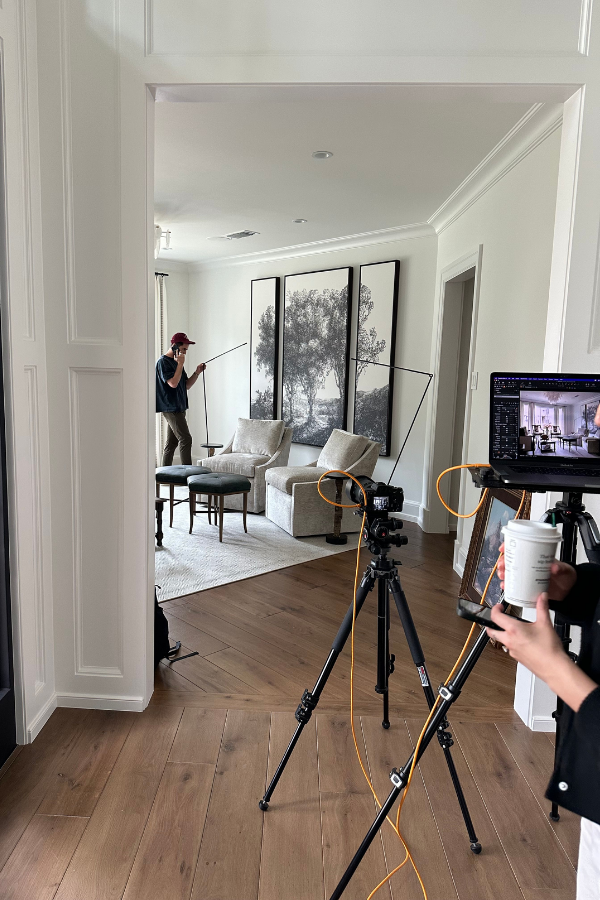
Step 2: Select the Right Photographer for Your Project and Goals

Interior design photography requires a specific skillset. It might be tempting to use the same person who took your fabulous headshots, but the equipment, lighting, and composition are completely different when it comes to a residential space.
Photographers who have been published understand what it takes to get a shot that meets editorial standards. They may also have an existing relationship with editors and copywriters, which is a big bonus if publication is your goal.
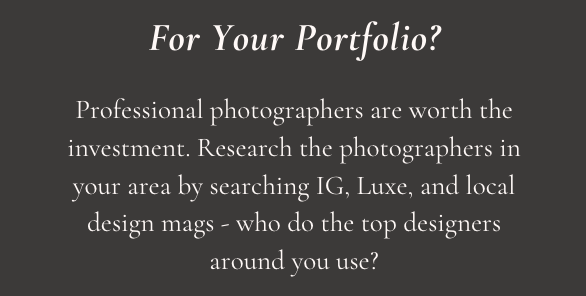
We have been using the same photographer for years, and we found him by perusing the design magazines, like Luxe and Architectural Digest. If you’re just starting out with photography, we recommend browsing your local Luxe or Modern Luxury magazines. Check out the home features, find the photographer, and then seek out that photographer’s Instagram to see if their style meshes with yours.
For photoshoots that aren’t happening locally, we will also go to Instagram. We’ll find a designer in that area, whom we admire greatly, and see who is shooting their projects.
But how do I find a photographer?
Usually, we’ll create a shortlist of 3-4 photographers and then reach out to each one to assess budgets and timelines. While we always hire a professional interior photographer for our portfolio work, we do utilize other approaches for different needs.
For social media content, our in-house marketing team captures images and video themselves, which is a cost-effective way to keep up with daily content demands without sacrificing quality. Keep in mind, you don’t own the photographs you don’t take! So knowing we took the photos and can use them in whatever capacity we desire, is a big plus.
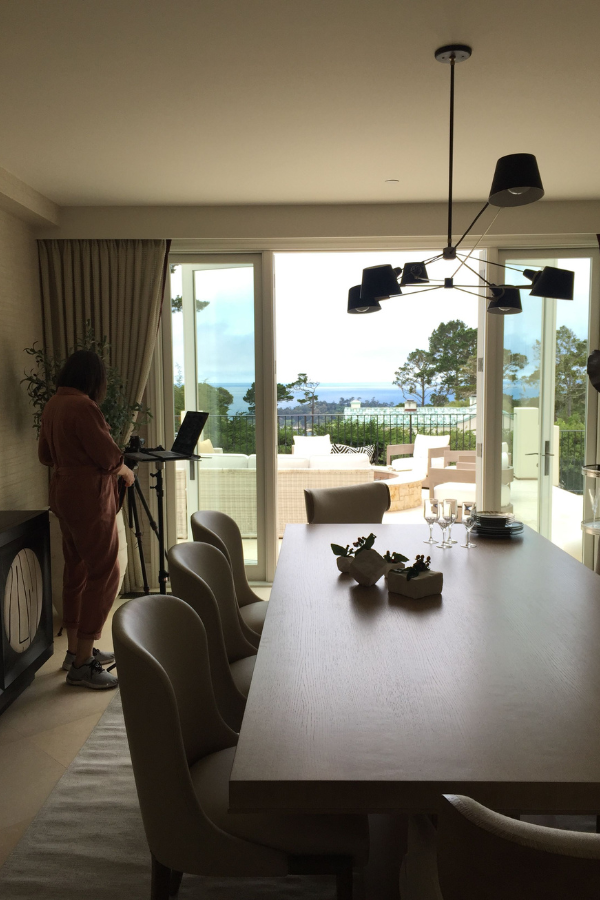
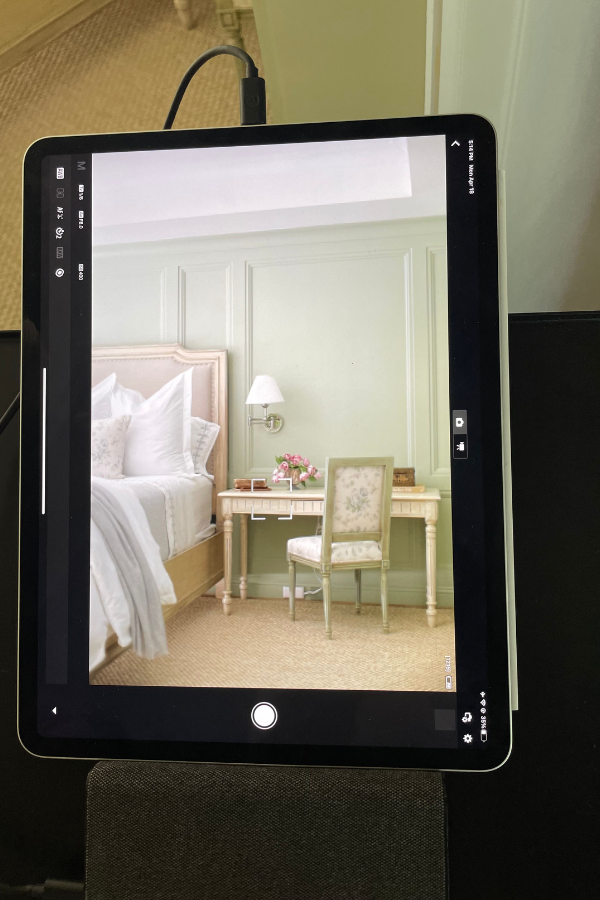
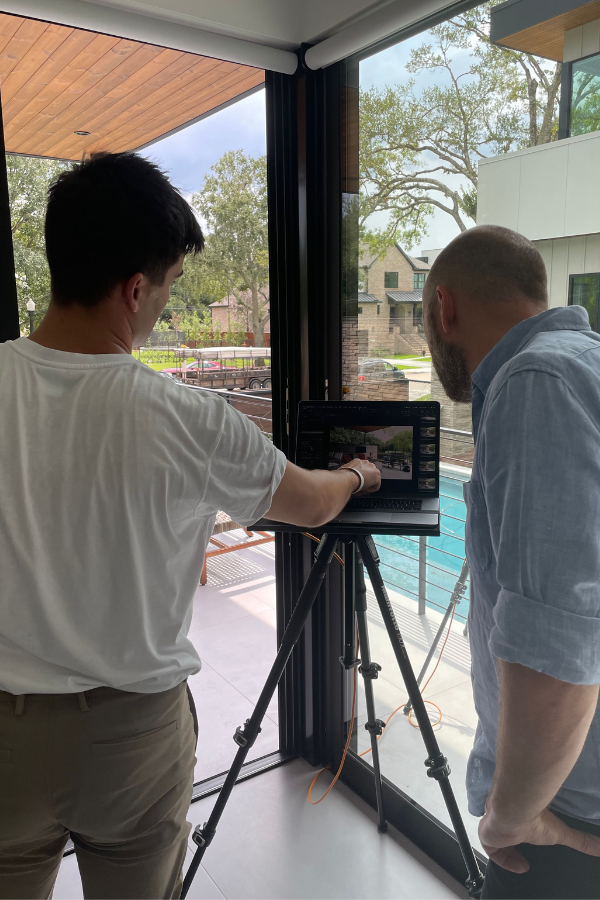
Step 3: Prepare for the Photoshoot
A well-executed interior design photoshoot requires meticulous planning and styling. But that doesn’t mean you have to do it all yourself! In fact, if you can swing it, we recommend relying on a team of people to ensure the photoshoot is spectacular from start-to-finish, with nothing falling through the cracks. Here’s how we prepare for a shoot.
Build a detailed project brief
Before the shoot, we create a room-by-room guide that outlines the key pieces, vendors, and design elements that need to be captured. This helps structure the photography schedule and ensures nothing gets overlooked. Our marketing team also uses this as a reference for tagging on social media.
Scout the location
For larger projects, we tour the home with the stylist a few days before the shoot to identify the best angles, light conditions, and any additional styling needs. I may also share the floor plan and sun exposure details with the photographer so they can plan their shots accordingly.
Inform your clients
I give our clients a detailed schedule so that they can plan accordingly. Obviously, we hope that they make plans to be away during the shoot, and I let them know that photoshoots can be stressful. We may move chairs between floors, tape over fixtures, or completely rearrange rooms. To share our gratitude, I always make sure we leave a floral arrangement once the shoot is complete.
Fuel your creative fire & be a part of a supportive community that values how you love to live.
subscribe to our newsletter
*please check your Spam folder for the latest DesignDash Magazine

Outline your styling plan and grab accessories
Note on your project brief which styling items and accessories should be used in each room. Your stylist can procure these items for you, but we always like to give suggestions. Every shoot should include florals—this is a must-have in our process, and we like a different arrangement in each room. For kitchens and common areas, we create scenes that tell a story, such as: a brunch scene with pastries and fresh juice, a homework setting at the counter with books, bags, and snacks, or a cozy happy hour setup with wine, cheese, and candles.
Invest in a stylist—it’s worth it.
If you want high-quality results, hire a stylist. Many designers hesitate to invest in this step, while others prefer to style their own spaces. However, a stylist is not only worth every penny, but they also enable you to focus on current clients, other creative needs, and time billing. Looking through your designer’s eye doesn’t always match what works best for a photograph—trust your stylist and photographer to refine the vision.
Key Takeaways
📸 Invest in a professional interiors photographer for portfolio shoots
📸 Hire a stylist; they are worth every penny
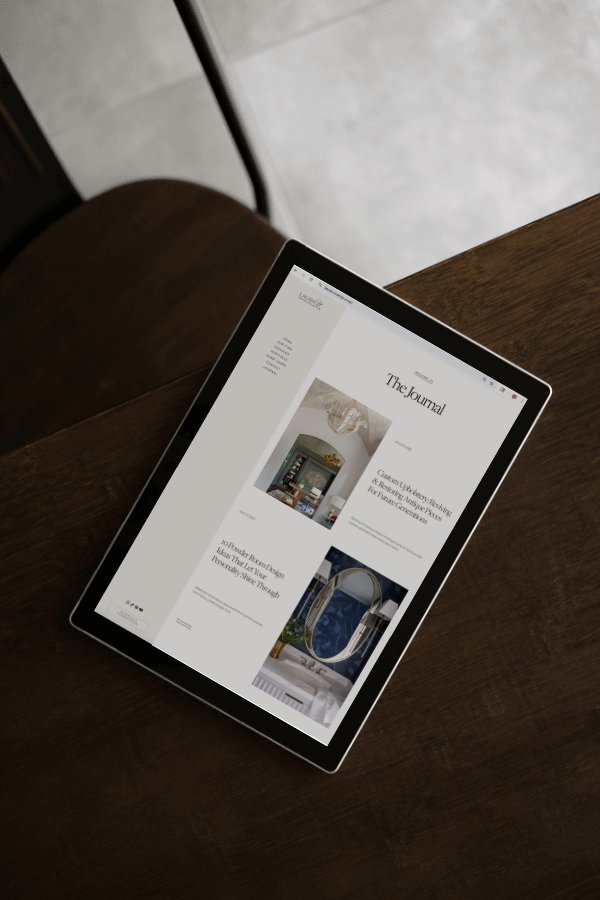
📸 Use your photos across multiple platforms: social, website, PR, partnerships
📸 Collaborate with your vendors to get featured in industry publications
📸 Mix pro and phone photography to get more content from each shoot
📸 Repurpose those photos! Do great work and tell everyone about it. Go outside of the design industry. The more you share, the more opportunities arise.
For more tips from Melissa, read the full article in DesignDash Magazine here. Learn how to create a photo promo plan, repurpose your photos, and pitch to partners.
Written by the DesignDash Editorial Team
Our contributors include experienced designers, firm owners, design writers, and other industry professionals. If you’re interested in submitting your work or collaborating, please reach out to our Editor-in-Chief at editor@designdash.com.
Related Posts
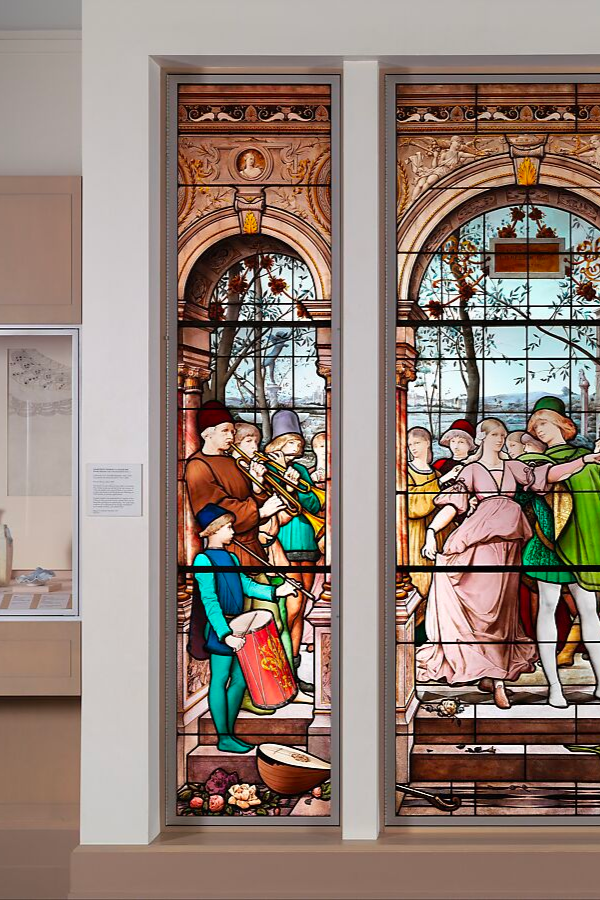
Light, Color, and Craftsmanship: How is Stained Glass Made?
From the towering cathedrals of medieval Europe to contemporary buildi
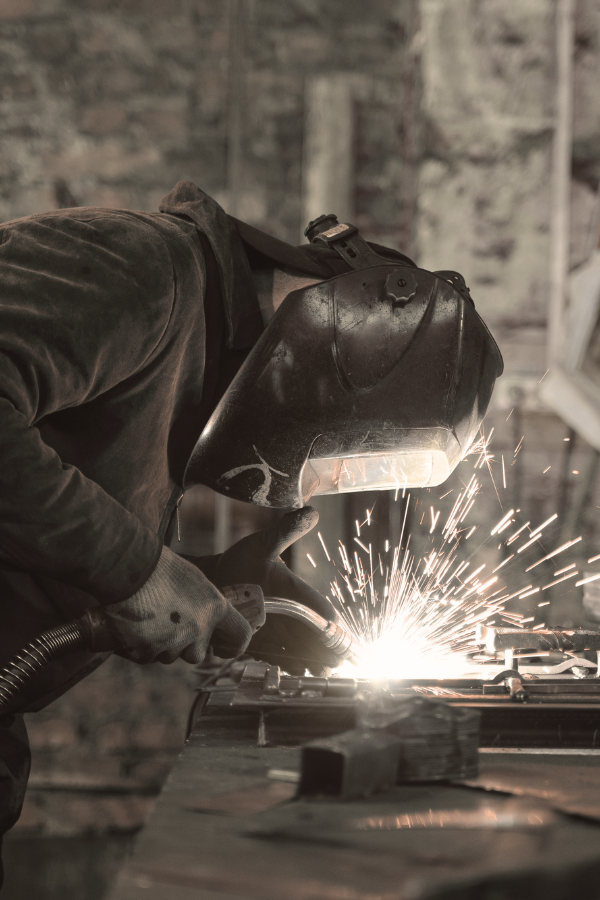
Amazing Women Welders Who Are Transforming the Trades
Women welders like Barbara Parsons, Stephanie Hoffman, and Rona Pondic
Reality Bites and Design Delights: The Best Interior Design Shows
From Dream Home Makeover to the Great Interior Design Challenge, these

African Architects Transforming the Built Environment
Modern and contemporary African architects are at the forefront of thi
Marketing Ideas for Interior Designers
For both seasoned professionals and newcomers to the field of interior