Interior Design Workflow Tips for Maximum Efficiency

 0
0
Summary
Reflection Questions
Journal Prompt
Ever felt like you’re juggling a million tasks while trying to create the perfect space? Trust me, you’re not alone. As an interior designer, I’ve had my fair share of days where I’m drowning in fabric swatches and wondering how I’ll ever get it all done. But here’s the thing: creating a beautiful room is only half the battle. The real magic happens when you nail down an efficient workflow.
Let’s face it, our job involves way more than just picking pretty patterns and colors. We’re project managers, therapists, and sometimes even magicians (how else do you explain fitting that oversized sofa through a tiny doorway?). With so many balls in the air, it’s easy to let things slip through the cracks. That’s why having a streamlined process is absolutely crucial.
In this article, we’re going to dive into some game-changing strategies to help you work smarter, not harder.
Mapping Your Interior Design Process: From Chaos to Clarity
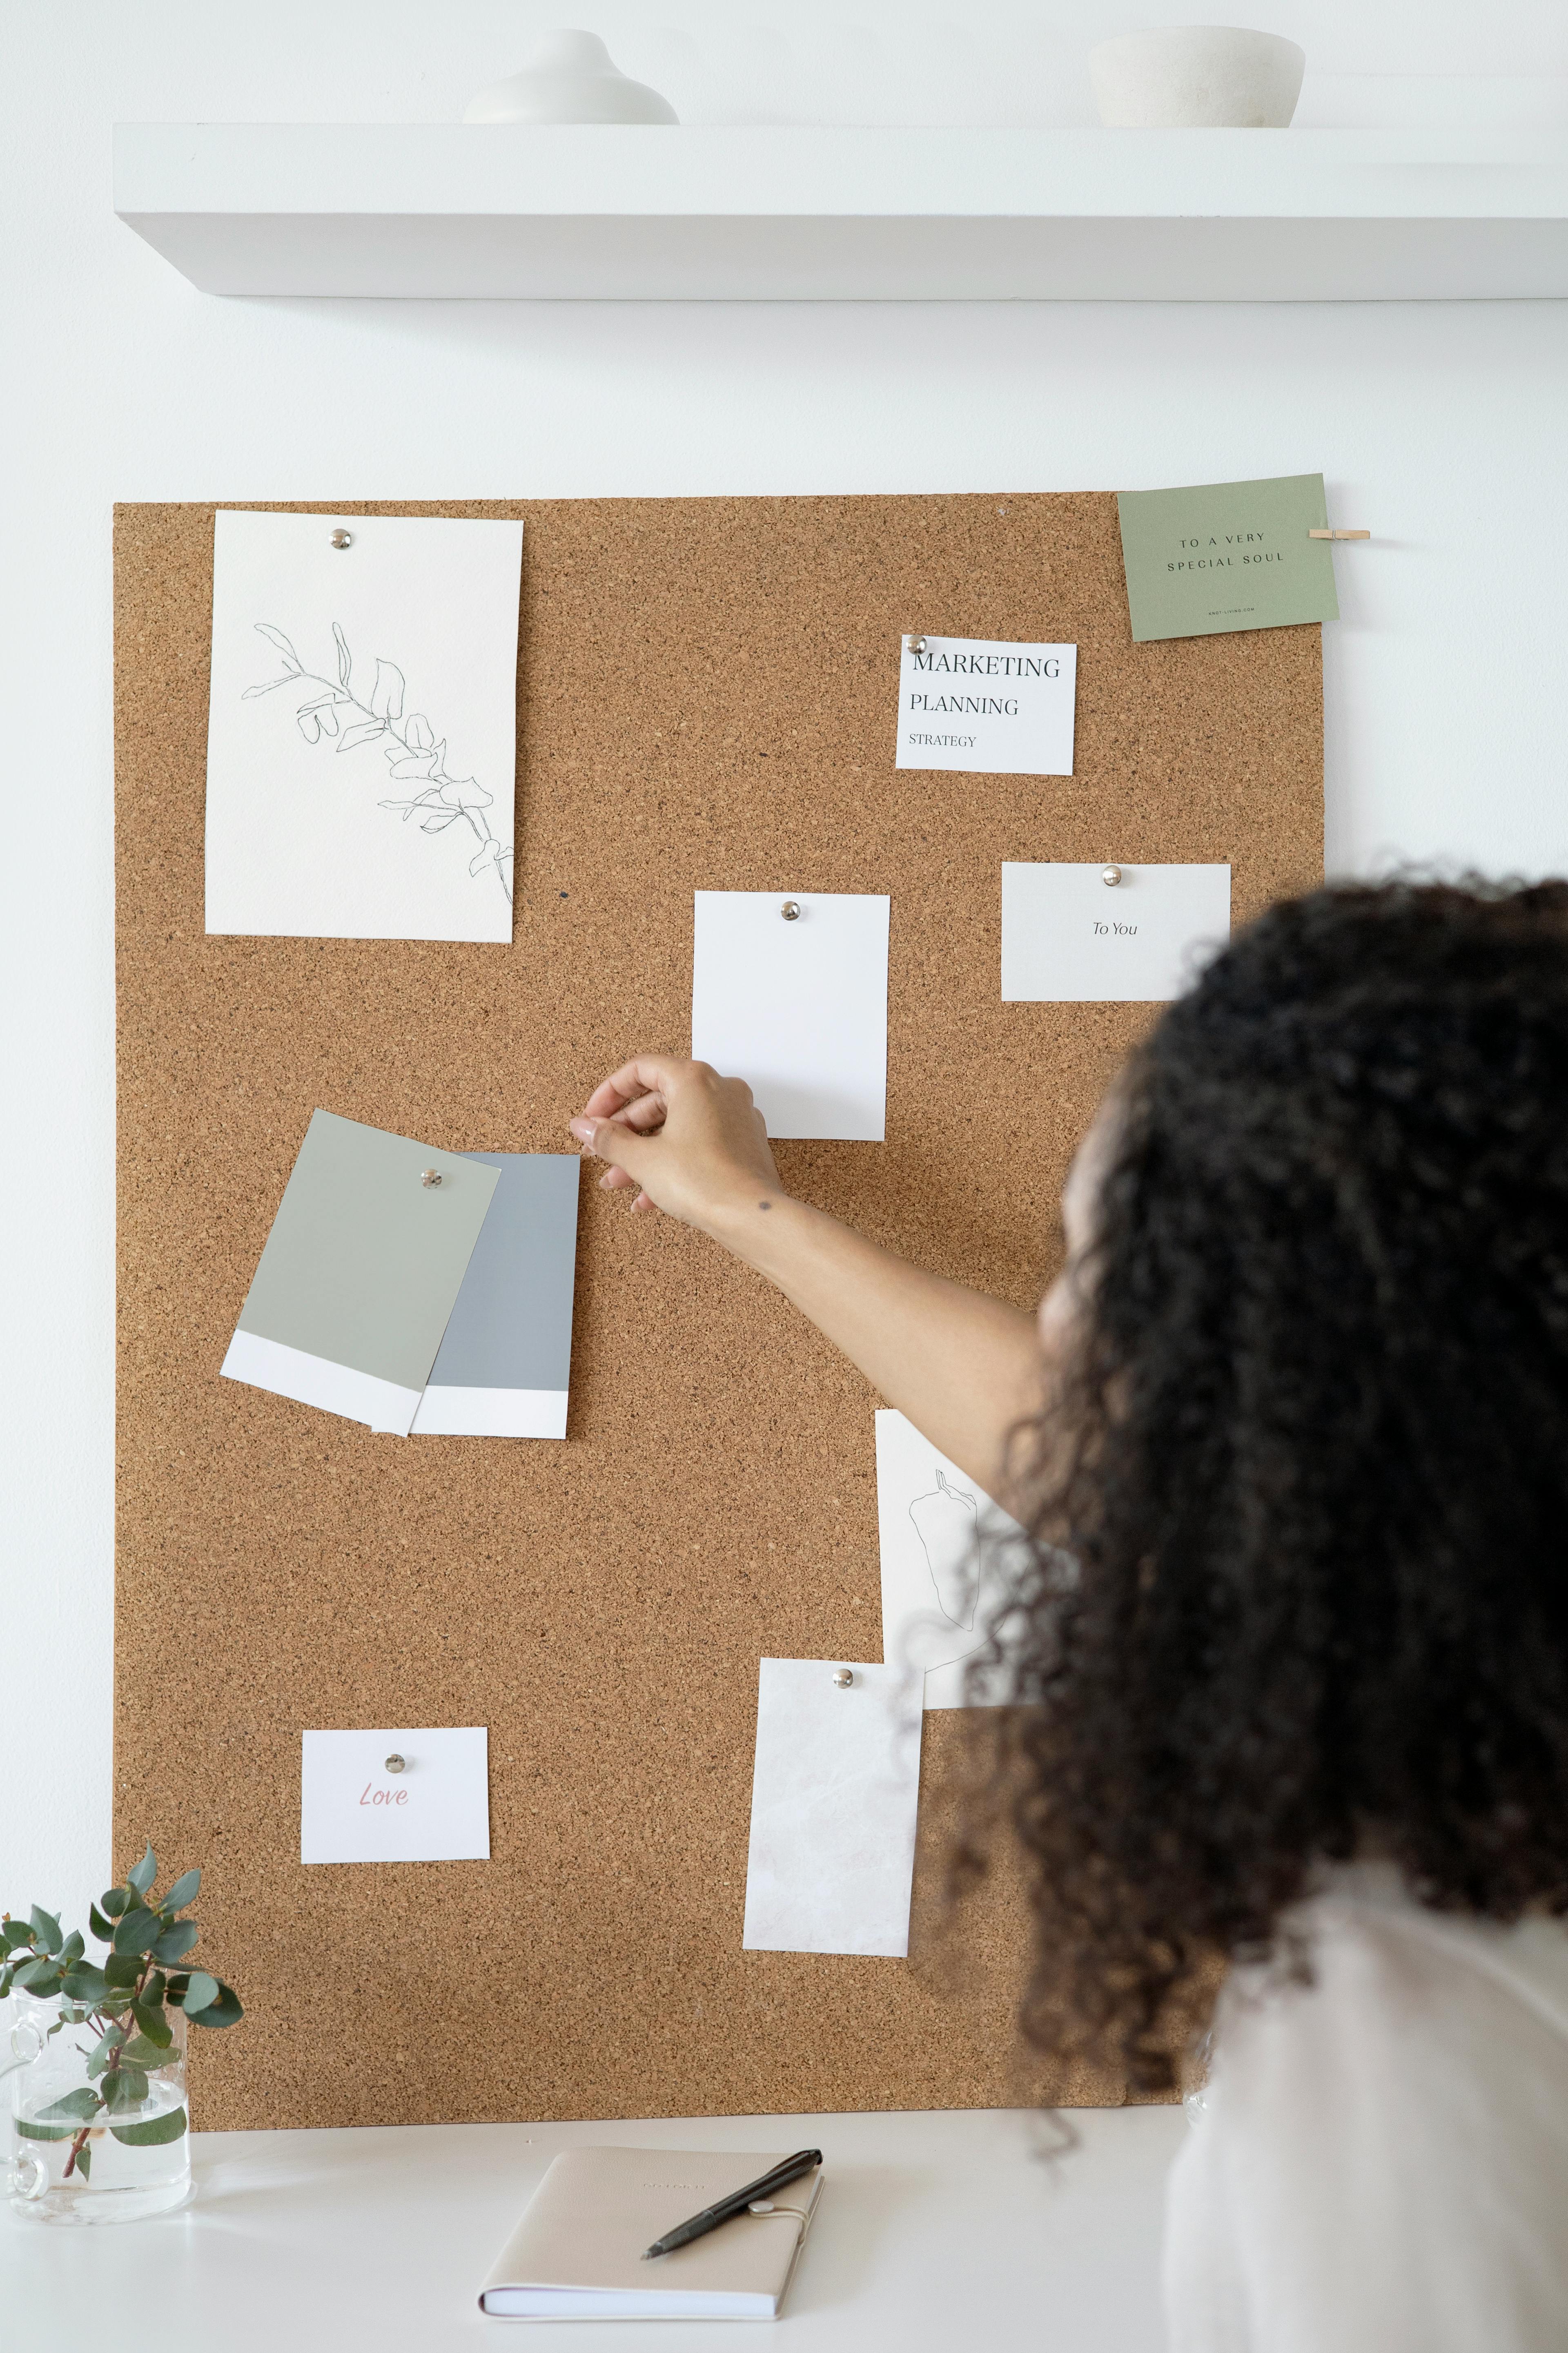
How many of you have found yourselves overwhelmed by fabric swatches, paint chips, and client emails, wondering how to pull it all together? I’ve been there, and it’s not an ideal situation. But don’t worry! I’m here to help you map out your interior design process and transform that chaos into a streamlined operation.
You might be thinking, ‘I’m an artist! I can’t be constrained by structure!’ However, a little organization goes a long way in this business. It’s like having a versatile, reliable piece in your wardrobe – it makes you look put-together, even when you’re feeling otherwise.

Breaking It Down: The Phases of Design Brilliance
Let’s break this process down into manageable steps:
- Initial Consultation (where you impress your clients)
- Concept Development (where creativity begins)
- Design Development (where the magic happens)
- Implementation (bringing it all to life)
- Project Completion (time to celebrate your success)
By clearly defining these phases, you’re creating a roadmap for yourself and setting clear expectations for your clients. It’s about providing a clear outline of the design journey – no surprises, just a smooth design experience.
Spotting the Speedbumps: Workflow Analysis
Now, let’s discuss workflow analysis. It might not sound exciting, but it’s crucial.
Take a week to analyze how you spend your time. Are you dedicating hours to finding the perfect accent piece when you could be focusing on bigger design decisions? Are client emails consuming half your day? By identifying these bottlenecks and redundancies, you can streamline your process and save valuable time each week.
Here’s an exercise: Keep a time log for a week. Note everything you do and how long it takes. You might be surprised at where your time is really going. This analysis will help you identify areas where your workflow could be improved.

The Power of a Well-Mapped Process
Imagine waking up, checking your organized project management system, and knowing exactly what needs to be done that day. No more frantically searching for lost sketches or trying to recall promises made to clients about design elements.
With a clear process in place, you can:
- Consistently deliver high-quality designs
- Set realistic timelines for yourself and your clients
- Easily onboard new team members
- Spend more time on actual designing
Remember, a well-structured process doesn’t stifle creativity – it gives it room to flourish. It’s like having an organized workspace. When everything has its place, you can easily find what you need to bring your vision to life.
I challenge you to take a good, hard look at your process. Map it out, identify the weak spots, and optimize it. Your future self will thank you.
Now, it’s time for me to review my project management software. Here’s to efficient design processes!
Client Onboarding: Setting the Project Foundation

The client onboarding process is crucial. It sets the tone for your entire relationship, and you want that tone to be ‘competent professional’ rather than ‘disorganized novice’. A smooth, polished onboarding tells your client ‘You’re in good hands’ and establishes a strong foundation for the project.
What does a stellar onboarding process look like? It starts with a comprehensive welcome package. This isn’t just a hastily assembled folder of papers. We’re talking about a curated collection that gives your client all the essential information while also laying out the important details.
A top-notch welcome pack might include:
- A personalized welcome letter
- An overview of your design process
- Clear timelines and milestones
- Payment terms and schedules
- Communication guidelines
Consider adding a welcome video to your package. It’s personal, engaging, and allows clients to see that you’re a real person, not just a disembodied email voice. It’s also an excellent way to showcase your personality and design aesthetic.
Next up: the initial consultation. This is your opportunity to demonstrate your expertise while also identifying any potential issues. Use this time to thoroughly explore their vision, budget, and timeline. The clearer you are now, the less likely you are to encounter misunderstandings later.

Mastering the Art of Client and Vendor Communication
In the world of design, miscommunication can be as disastrous as pairing polka dots with plaid. That’s why establishing effective communication protocols with clients and vendors is crucial. It’s the difference between a project that runs smoothly and one that falls into revision chaos.
You might think you can manage with a few casual emails, but effective communication requires more structure. Let’s explore how to finesse clear and professional communication.
The Essential Communication Protocols
Let’s discuss three key elements that will keep your projects on track:
1. Regular Check-ins: Schedule these consistently, whether weekly or bi-weekly. Choose a frequency that works for you and your client, and stick to it. It’s like a standing appointment with your project.
2. Update Templates: Create a standardized template for your updates. Include sections for progress, challenges, and next steps. This structured approach keeps everyone informed and aligned.
3. Feedback Systems: Establish a clear process for giving and receiving feedback. It’s not just about avoiding vague comments; it’s about creating a structured dialogue that keeps everyone on the same page.
Avoiding Communication Pitfalls
Now, let’s discuss what to avoid. Sometimes knowing what not to do is just as important as knowing what to do.
1. The Vague Communicator: Never leave things open to interpretation. “I’ll get it done soon” is not helpful. Be specific and clear in your communications.
2. The Over-Promiser: We all want to please, but promising more than you can deliver is a recipe for disaster. Set realistic expectations and then aim to exceed them.
3. The Disappearing Act: Vanishing for days on end is unacceptable unless you’re on a meditation retreat. Keep those lines of communication open.
Remember, communication is an art form. It’s about finding the perfect balance between professional and personable, informative and engaging. Master it, and you’ll have clients and vendors eager to work with you again.
Tweet this: ‘Clear communication in design isn’t just nice – it’s necessary. Set protocols, use templates, and always keep it professional! #DesignCommunication #ClientRelations’
Creating Efficient Sourcing and Procurement Systems

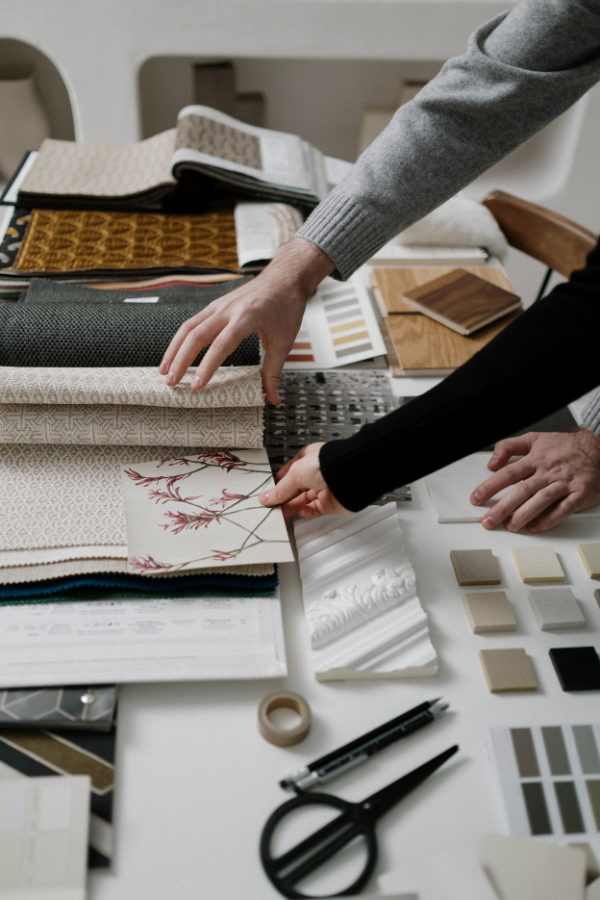
Let’s discuss the less glamorous but crucial aspect of interior design that can make or break your business: sourcing and procurement. I’ve experienced the challenges firsthand – drowning in fabric swatches and frantically searching supplier websites in the early hours. However, mastering this behind-the-scenes process is what distinguishes seasoned professionals from overwhelmed newcomers.
How can we transform this potential time drain into an efficient system? It’s all about creating smart processes. I’m referring to leveraging technology and strategic approaches to streamline the entire operation.

Vendor Relationships: A Key Asset
First, let’s discuss vendor relationships. These aren’t just contacts – they’re essential partners in your design work. Cultivate these connections consistently. Regular check-ins, timely payments, and occasional in-person meetings can be highly effective. One designer I know sends handwritten thank-you notes to her preferred suppliers. It may seem old-fashioned, but it’s remarkably effective.
Take it a step further by using a supplier management system. Track who offers what, your order history, and other key details. This approach isn’t just about organization – it’s about having the information to negotiate better deals and anticipate potential issues before they escalate.
Digital Sample Libraries: An Essential Tool
Now, let’s address samples. If your office resembles a chaotic fabric store, it’s time for a digital upgrade. Invest in a comprehensive digital sample library. This not only prevents you from being overwhelmed by physical swatches but also allows you to access your entire catalog remotely. Imagine being at a client meeting, facing rejection of your initial wallpaper suggestion, but being able to instantly show alternatives that resonate with the client. That’s the advantage of a digital library.
Order Tracking: A Necessity in Modern Design
Lastly, let’s tackle order tracking – a common challenge for designers. How often have you found yourself urgently trying to locate a missing shipment of custom items? Implementing a robust order tracking system is about more than peace of mind. It’s about professionalism, efficiency, and ultimately, your business’s success.
Look for software that integrates with your suppliers’ systems for real-time updates. Set up automated alerts for key stages in the ordering process. And importantly, keep your clients informed. A simple weekly update can prevent a flood of inquiries about order status.
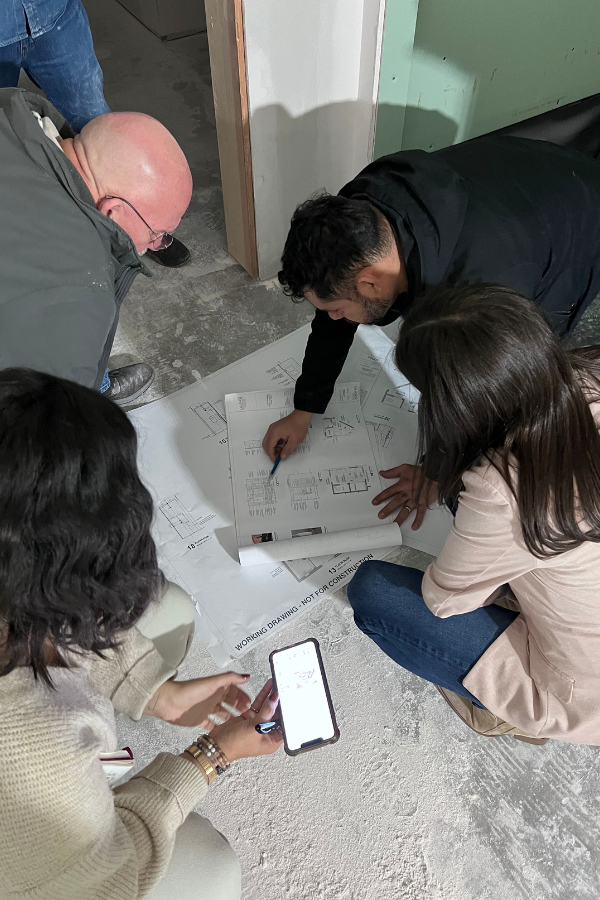
Managing the Construction and Installation Phase: Keeping Your Design Vision Intact

The construction phase is when your carefully crafted designs start coming to life – and also when things can go off course if you’re not prepared. Managing this phase effectively is an art form unto itself.
First things first: clear roles are essential. Establish who’s responsible for each aspect of the project from the start. This isn’t just about managing egos; it’s about creating a chain of command that keeps things running smoothly when, inevitably, something goes awry.
Now, let’s talk documentation. Thorough documentation standards are your best defense against construction conflicts. Implement a system where every decision, change, and issue is recorded. This isn’t about creating busywork; it’s about protecting your design vision when questions arise later.
Site visits are crucial for ensuring everything’s going according to plan, but they can quickly become time-consuming if not managed properly. Set clear protocols for these visits. Who needs to be present? What’s the agenda? How often should they occur? A well-structured site visit can preemptively solve issues before they become major problems.
Fuel your creative fire & be a part of a supportive community that values how you love to live.
subscribe to our newsletter
*please check your Spam folder for the latest DesignDash Magazine issue immediately after subscription

Here’s a pro tip: clarify your role as the designer during construction. It’s tempting to want to oversee every detail, but that’s a fast track to scope creep and burnout. Define what falls under your purview and what doesn’t. You’re there to ensure design intent is maintained, not to micromanage the contractor’s every move.
One tool I recommend is the installation checklist. It’s a simple document that outlines every step of the installation process, complete with sign-offs at each stage. This keeps everyone on track and serves as a quality control measure. Plus, it’s a great tool for accountability if questions come up later.
Even with all these measures in place, challenges will arise. The key is to approach them with a solution-oriented mindset. When issues crop up (and they will), focus on finding resolutions that honor your design intent without derailing the project timeline or budget.
The Art of Graceful Project Completion and Client Follow-Up
You’ve invested countless hours and energy into creating a masterpiece for your client. Now it’s time for the final act, and how you conclude is just as important as how you began.
First, let’s address the handover. This isn’t a simple ‘here you go’ moment. This is your opportunity to present your design with finesse. Create a comprehensive handover pack that could practically manage the project without you. Include everything from final files to a user guide that’s clear and accessible.
Next, let’s tackle defect management. We’re all human, and sometimes small imperfections occur. The key is to handle them professionally and efficiently. Implement a system to track and resolve any issues that arise post-handover. It’s about managing details with precision and care.
But here’s the most crucial part – the strategic follow-up. This is your pathway to testimonials, referrals, and repeat business. It’s not just about asking for feedback (though that’s part of it). It’s about fostering a lasting connection with your client.
The Follow-Up Strategy: Your Guide to Client Retention Let’s break it down into a table for clarity:
| Follow-Up Step | Timing | Purpose | Pro Tip |
|---|---|---|---|
| Post-Project Check-In | 1 week after handover | Address immediate concerns | Be proactive, not reactive |
| Satisfaction Survey | 2 weeks after handover | Gather detailed feedback | Keep it short and sweet |
| Testimonial Request | 1 month after handover | Secure that glowing review | Provide a template for easy response |
| Referral Outreach | 2 months after handover | Expand your client base | Offer an incentive for successful referrals |
| Long-Term Check-In | 6 months after handover | Maintain relationship, explore new opportunities | Share industry insights or relevant updates |
Now, let’s address requesting testimonials and referrals. It’s about confidently showcasing your value. Try this approach:
‘Hello [Client Name],
I hope you’re enjoying your new design as much as we enjoyed creating it! We’re always looking to help more businesses like yours. If you know anyone who might benefit from our services, we’d appreciate if you’d pass along our information. And, if you have a moment, we’d be grateful if you could share a quick testimonial about your experience with us.
Your feedback would be invaluable to us.’
A well-executed project completion and follow-up process isn’t just about tying up loose ends. It’s about building lasting relationships that will sustain your design business. So, complete those projects with professionalism, and follow up with purpose. Your future success depends on it.
Building Systems for Long-Term Efficiency

Let’s talk about the key to truly efficient interior design businesses. It’s not about working yourself to exhaustion or pulling all-nighters (though we’ve all been there). It’s about building systems that do the heavy lifting for you.
I’m talking about developing a set of standardized operating procedures that grow and evolve right alongside your business. Think of it as creating a well-oiled machine that runs smoothly, even when you’re not there to oversee every little detail.
So what does this look like in practice? It’s all about documentation. Process docs that spell out exactly how things get done in your design empire. Templates that save you from reinventing the wheel with every new client. Checklists that ensure nothing falls through the cracks (because we all know how easy it is to forget that one tiny-but-crucial detail when you’re juggling multiple projects).
Now, I know what you’re thinking. ‘This sounds tedious.’ And you’re not wrong – initially, it can feel like a chore. But trust me, it’s worth the effort. Why? Because these systems allow for consistent quality across all your projects. They make it infinitely easier to delegate tasks as your team grows. And most importantly, they free up your time to focus on the creative, big-picture stuff that probably drew you to interior design in the first place.
Start small. Pick one process in your business – maybe it’s your client onboarding or your project wrap-up procedure. Write down each step, from start to finish. What works? What doesn’t? Where are the bottlenecks? Then refine, refine, refine until you have a smooth, repeatable process that any team member could follow.
Wrapping It Up: Work Smarter, Design Freely
At the end of the day, building an efficient workflow isn’t about stifling your creativity — it’s about giving it room to breathe. When your processes are clear, your tools are organized, and your communication is on point, you can focus on what you do best: designing beautiful, functional spaces that wow your clients.
Join us for the focus & Flex challenge
It doesn’t have to happen overnight. Start by refining one system at a time, and before you know it, you’ll have a well-oiled operation that supports both your creativity and your sanity. Trust me, your future self (and your clients) will thank you. So go ahead — streamline, systematize, and make space for the magic. You’ve got this!
Want to learn how other designers are streamlining their workflows and building thriving businesses? Join our private community for real-world insights and proven strategies.
Written by a Guest Contributor
This article was contributed by an external writer and does not necessarily reflect the views or editorial standards of the DesignDash team.
Related Posts

What is an Org Chart, and Why Do You Need One?
What is an org chart and why do you need one? We answer all your FAQs

The Science Behind Creative Block: Why It Happens and How to Beat It
Creative block. We all know it. Confidence wanes, and the creative flo

Know Your Rights as a Female Freelancer: States with Cyberflashing Laws
Learn about U.S. cyberflashing laws, how this form of digital harassme

How to Find Purpose in Life When Your 9-to-5 Feels Mundane & Meaningless
Feeling uninspired by your 9-to-5? Here's how to find purpose in life
Design Firm Friday: Explaining the Invisible Costs Clients Don’t See
Clients see fees and furniture, but hidden costs like freight, storage

How to Let Go and Delegate Without Losing Creative Control
As an interior design business owner, it can be difficult to let go an